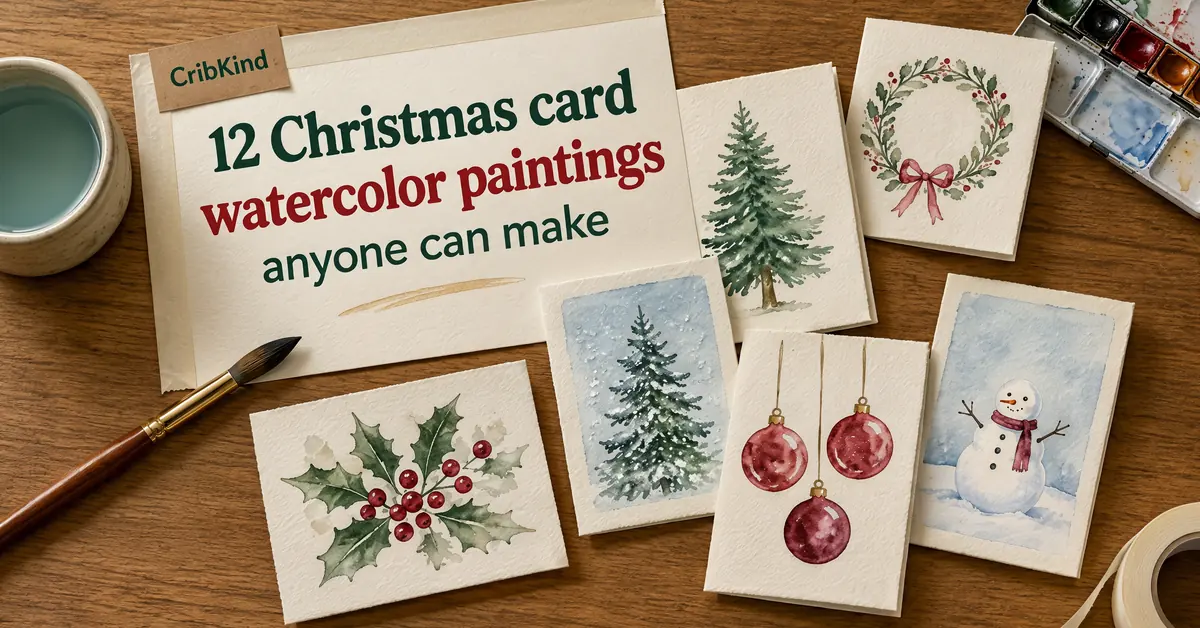
12 Christmas card watercolor paintings anyone can make
If you want to mail handmade cards this year but you’re sure you can’t draw, watercolor is a forgiving place to start. Christmas card watercolor paintings look harder than they are, because a shaky tree edge dries looking loose and pretty. I’m planning a small batch with Eeshan and Vihaan this December. So I sorted the ideas that keep turning up in tutorials into two piles: what a nervous adult can paint in ten minutes, and what a small kid can help with.
What you need for watercolor Christmas cards
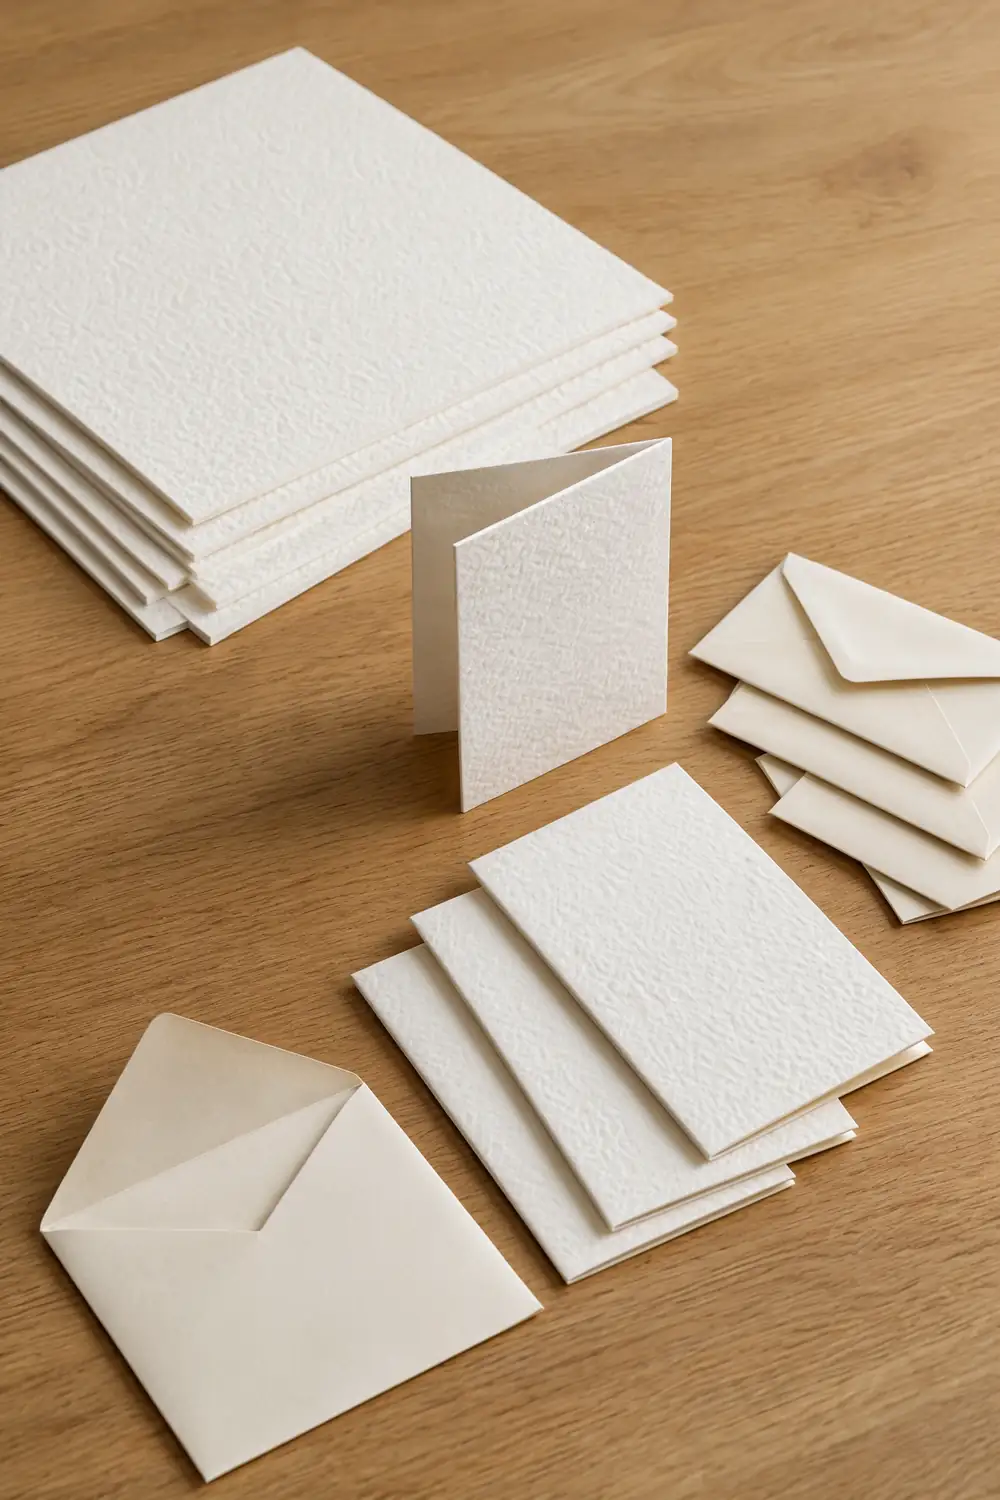
The paper matters more than the paint. Printer paper and most cardstock soak up a wet wash, ripple and start to pill under the brush, and then a five minute tree turns into a soggy fight. Watercolor paper sold as 140 lb cold press is the usual weight for watercolor Christmas cards. It stays close to flat if you tape the edges down while you paint.
- 140 lb cold press watercolor paper, or precut blank watercolor cards that come with envelopes

- A pan set with two greens (or a yellow and a blue to mix them), red, dark blue and brown
- A medium round brush for washes and a small round brush for berries, stars and trunks
- Painter’s tape and a clipboard or cutting board to tape the paper to
- Two jars of water, one for rinsing and one kept clean
- A pencil, an eraser, a cup or jar lid for tracing circles, and paper towels
- Coarse salt and a white crayon for the two texture tricks below
- A white gel pen and a fine black pen for details after the paint dries
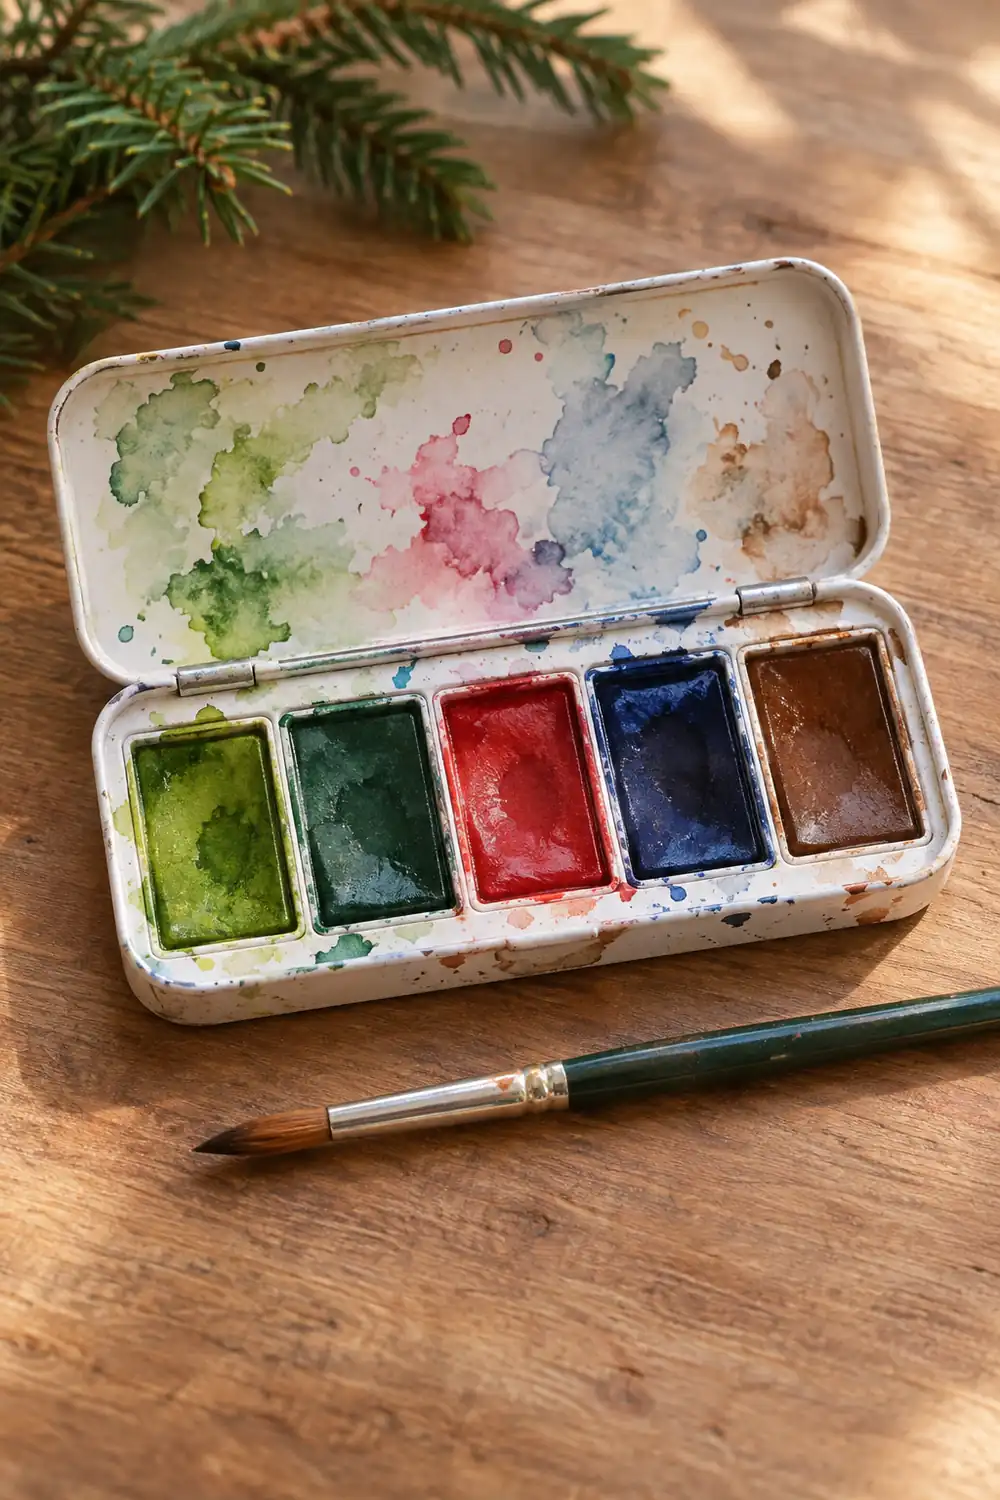
If I were stocking the table for Vihaan and not for me, I’d buy one fat round brush and skip the ten piece set. Small hands press hard, and a thick brush still makes a decent mark when it’s squashed flat. A cheap student pad is fine for practice. Save your nicer sheets for the cards you actually mail.
Three watercolor habits behind almost every Christmas card
Most Christmas watercolor that looks effortless comes down to three habits. Once you know them, every tutorial gets easier to follow.
The first is wet on wet. You brush clean water onto the paper, touch in color and let it spread on its own, and that soft bloom gives night skies and shiny ornaments their glow. The second is light to dark: paint the palest color first, wait until the shine leaves the paper, and only then add darker greens or red details. Wet paint dropped onto wet paint turns muddy fast.
Adults fight the third habit hardest. Leave the paper white wherever you want white, whether that’s snow, the shine on a bauble or a star. None of these cards use white paint, because white added later looks chalky. I’d tell Eeshan to treat the white spots like a game of keep away; the brush isn’t allowed to touch them.
Watercolor Christmas tree cards, four easy ways
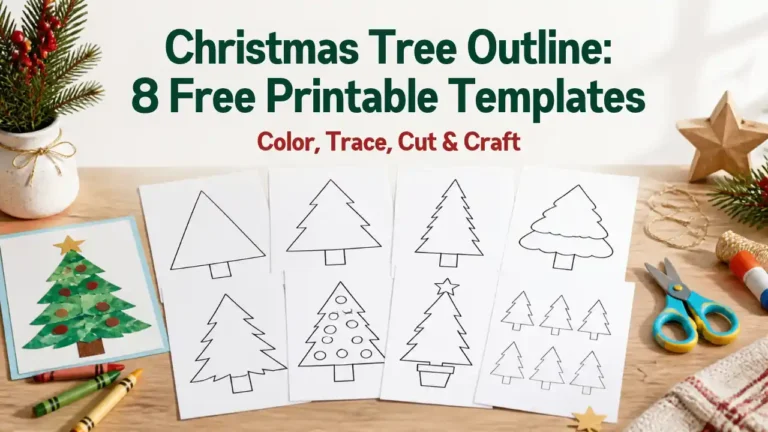
A watercolor Christmas tree is the card most people try first. It earns that spot because a rough triangle is almost impossible to get wrong. These four go from loosest to tidiest. If your family’s tree has a color theme, borrow it, and our Christmas tree decorating ideas make handy color palettes for a card.
The loose sweep tree
Draw a faint pencil triangle as a guide. Load a round brush with green and start at the top with tiny strokes, sweeping each row a little wider as you work down and flicking outward the way branches hang. While the first green is damp, drop a darker green into a few spots. Once it’s dry, add a brown trunk, red dots for ornaments and a yellow star.
The salt snow tree
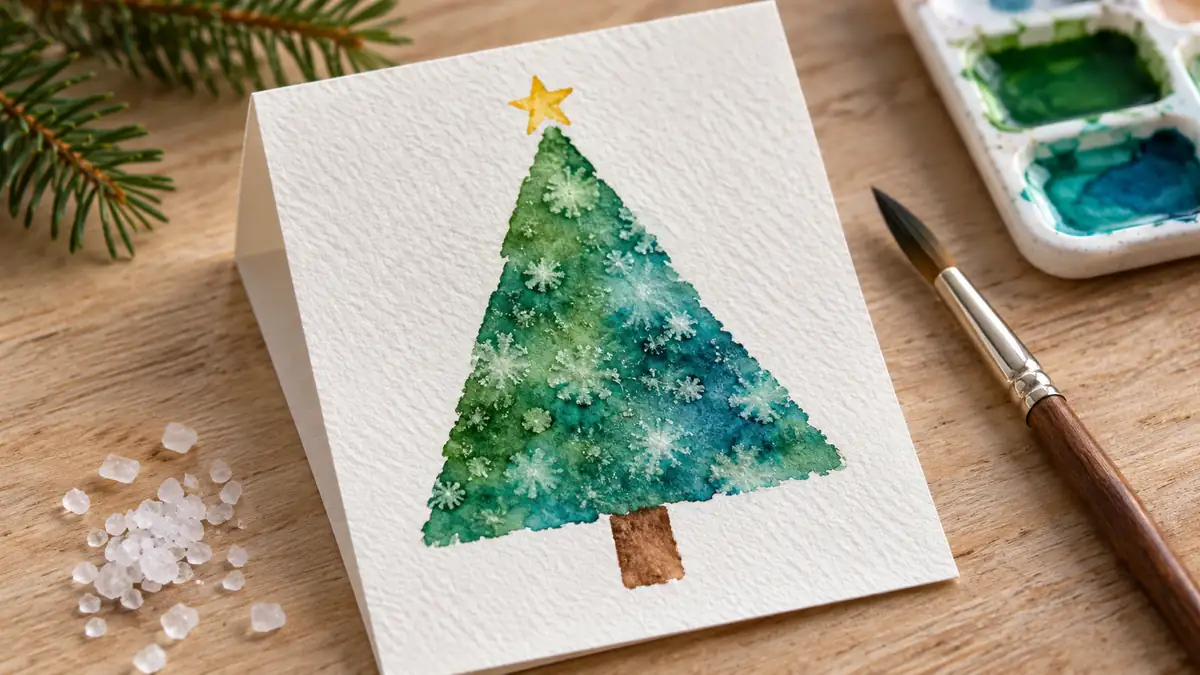
Paint a solid triangle in green with a little blue mixed in. While it still looks shiny, sprinkle a pinch of coarse salt over it. The salt pulls pigment toward itself and leaves pale, starry flecks that read as snow. Leave it alone until it’s bone dry, then brush the salt into the trash. This card usually fails for one reason: the paint had already lost its shine when the salt landed.
The taped triangle tree
Press strips of painter’s tape down to frame a tall triangle, then paint inside it as messily as you like, with stripes of green, a band of red or a full rainbow. Peel the tape only after the paint dries, and the edges come out crisp. I’d hand this one to a preschooler first, since the tape does the neat part for them.
A row of tiny fir trees
Wash a pale blue strip along the bottom third of the card for snowy ground and let it dry. Then, with a small brush, paint a thin center line for each tree and short zigzag strokes down both sides, making one tree taller than the rest. Three to five trees fill a card. Each one takes a couple of minutes, which makes this my pick for any big batch.
Eight more Christmas watercolor ideas for cards
Most watercolor paintings of Christmas lean on trees, and trees get repetitive by card ten. Here are the other Christmas watercolor ideas I’d put in the rotation. The table sorts all 12 watercolor Christmas card ideas by rough painting time and the step that usually goes wrong, so you can choose by patience as well as by looks. The times are my estimates and leave out drying.
| Idea | Painting time | The tricky part | Kid version |
|---|---|---|---|
| Loose sweep tree | About 7 minutes | Waiting before adding ornaments | Big green triangle with dot ornaments |
| Salt snow tree | About 5 minutes | Salt has to hit shiny wet paint | Kid sprinkles the salt |
| Taped triangle tree | About 5 minutes | Peeling tape too early | Any colors inside the tape |
| Row of fir trees | About 2 minutes per tree | Keeping zigzags small | Zigzag lines in one color |
| Ornaments | About 6 minutes | Saving the white shine | Fill traced circles with any color |
| Wreath | About 8 minutes | Even leaf spacing | Grownup paints leaves, kid adds berries |
| Holly and berries | About 4 minutes | Pointy leaf edges | Red berry dots only |
| Snowman scene | About 10 minutes | Painting around the snowman | Grownup paints sky, kid adds the scarf |
| Snowflake resist | About 4 minutes | Pressing the crayon hard | The whole card |
| Candy canes | About 5 minutes | Stripes bleeding together | Red stripes on a pencil outline |
| Starry night | About 6 minutes | Keeping the star white | Splashy blue sky, grownup adds the star |
| String of lights | About 6 minutes | Wet bulbs touching | One bulb per color, spaced out |
Ornaments traced from a cup
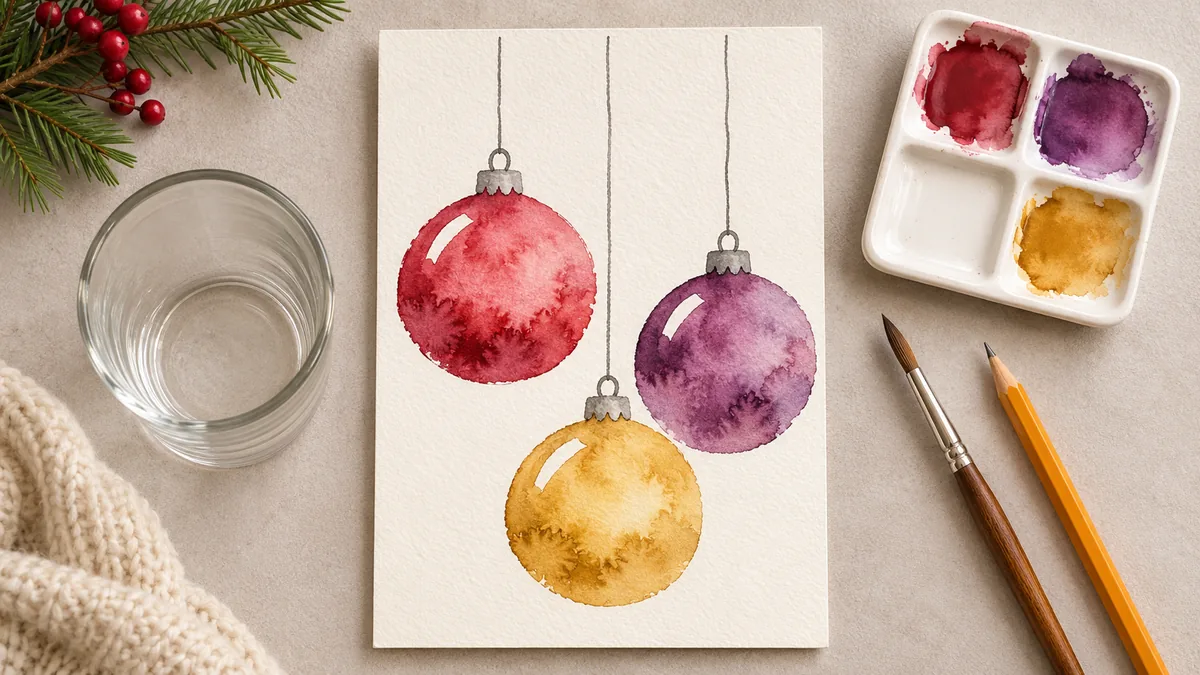
Trace two or three circles at different heights. Wet one circle with clean water, touch red into one side and a little purple into the other, and leave a curved sliver of white near the top as the shine. When the first circle is dry, move to the next one so the colors don’t bleed. Finish with gray caps and thin strings running up to the edge of the card.
A simple wreath
Lightly trace a circle, then press and lift the tip of a round brush around it to make small leaves that all point the same way. Let a few leaves in two greens touch while wet. After it dries, add red berry clusters and a small bow. The leaves cover the pencil line, so a lumpy circle doesn’t matter.
Holly and berries
Two leaves and three berries fill a small card. Paint each leaf as a long oval, then nibble the edges into points with the brush tip. A tiny dot of paper left white on each berry makes it look round. It’s the fastest design here that still looks finished on its own.
A snowman winter scene
Draw two light circles for the snowman. Wet the sky around them, drop in a soft gray blue, and paint carefully around the circles so they stay white paper. Once dry, add stick arms, an orange nose, a red scarf and a few pale blue shadow strokes on one side. It’s the slowest card in this post, and the one that looks most like a painting.
Snowflake resist
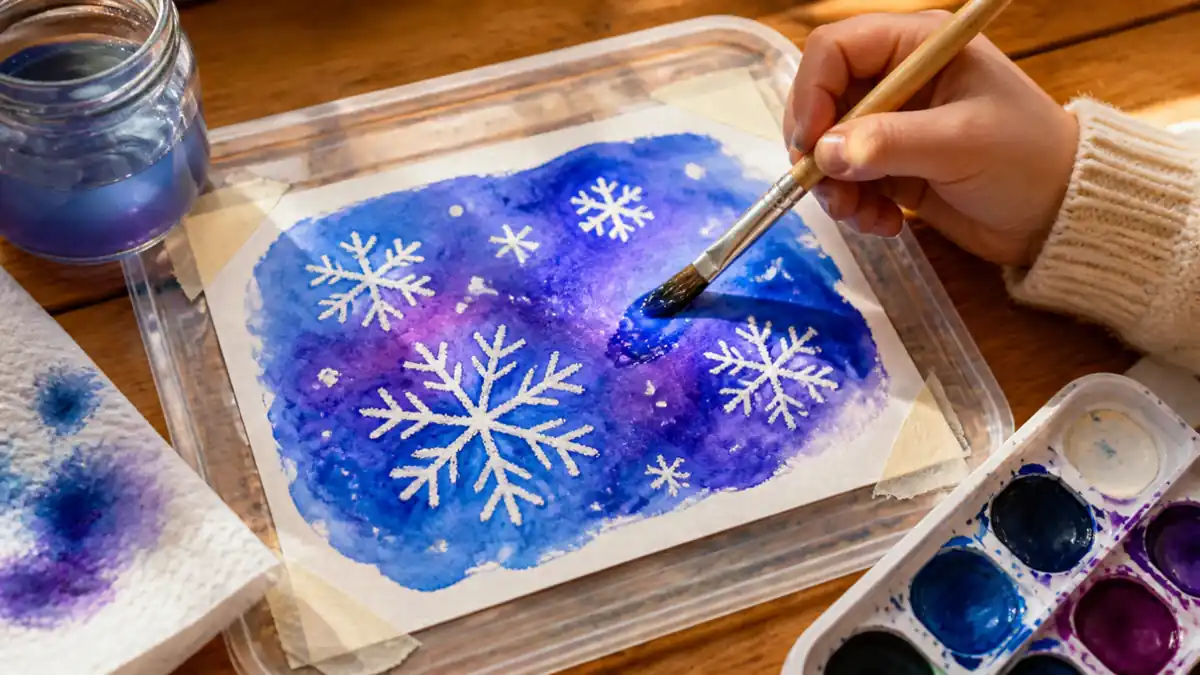
Draw snowflakes with a white crayon, pressing hard, then paint over the whole card in blue and purple. Wax refuses the paint, so the snowflakes appear as you brush. A kid can’t really get this one wrong, which is why it sits at the top of my list for small hands.
Candy canes
Draw two crossed candy canes in pencil and paint diagonal red stripes with white gaps between them. Let each stripe dry before you paint the one touching it, or the red runs into the white. A thin green bow where the canes cross finishes it.
A starry night with one star
Wet the top half of the card but skip one small spot for the star. Drop in dark blue and a little purple, then tilt the card so the colors run together. After it dries, add white gel pen dots for smaller stars and a strip of dark fir trees along the bottom if you want a horizon.
A string of lights
Draw a loose wavy line across the card. Paint small oval bulbs along it in red, green, yellow and blue, spacing them so no two wet bulbs touch. Once the bulbs are dry, trace the wire with a fine black pen and give each bulb a tiny cap.
Painting Christmas cards with kids, by age
When Eeshan and Vihaan sit down at the card table this December, my rule will be simple: the card belongs to whoever held the brush, wobbles and all. Here’s how I’d split these Christmas watercolor painting ideas by age, based on what each one asks of small hands.
Toddlers under 2
A young toddler mostly wants to splash, smear and taste, so watercolor works best as a team effort. Draw the crayon snowflakes yourself, tape the card to a tray, and let your toddler brush blue paint over them while you sit right there. Keep the water jar shallow. If your toddler wants hands in something more than a brush in hand, a winter sensory bin may hold their attention longer.
Ages 2 to 3
Give them one big brush, one color at a time, and either the taped tree or the snowflake resist. Kids this age tend to scrub until the paper tears, so the thicker paper earns its cost here. Let them sprinkle the salt on your salt tree too.
Ages 4 to 5
Traced ornaments and holly berries suit this age, because the shapes are already drawn and the job is filling them in. This is also a good age to teach waiting for the shine to go before the next color.
Ages 6 and up
Most school age kids can follow the loose sweep tree or the row of firs with you painting beside them. Give them their own card and resist fixing theirs. A kid who would rather color than paint can still join in with our winter coloring pages.
How to paint a stack of watercolor Xmas cards in one sitting
Painting twenty cards one at a time takes all evening, and most of that evening is waiting for paint to dry. An assembly line fixes it. Cut and tape down every card first, pencil every guide next, and then paint the first layer on all of them in a row. By the time you reach the last card, the first one is dry enough for its next layer.
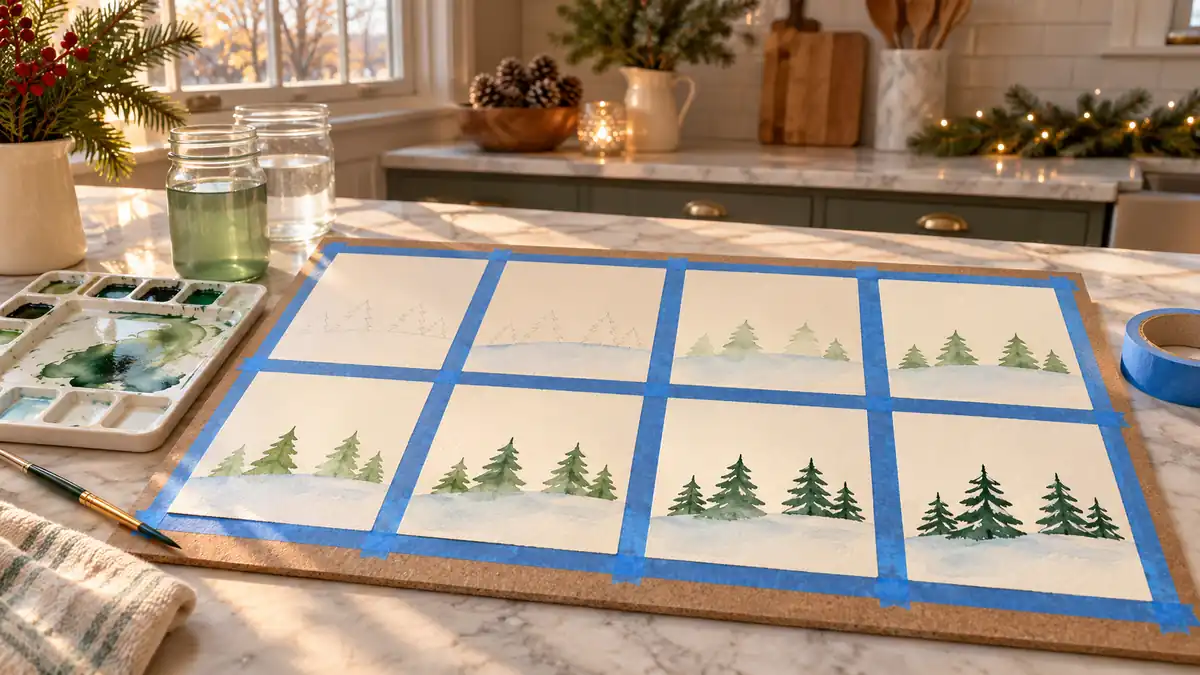
Pick two designs for a big batch, three at most. Each change of design means new colors on the palette and a new motion in your hand. The fir row and the holly pair well because they share the same greens, and I’d lean on them for anyone painting watercolor Xmas cards for a long family list or a whole class.
Another trick is to paint four card fronts on one large taped sheet and cut them apart once dry, so the tape lines become white borders. A card painting table also works as a station at a holiday party, and our Christmas get together ideas has more like it. If Vihaan loses interest halfway through, which I fully expect, his half finished cards can become gift tags.
Flattening, signing and mailing hand painted watercolor Christmas cards
Even 140 lb paper curls a little after a wet wash. Once a card is fully dry, lay it face down under a stack of heavy books overnight. If it’s still wavy in the morning, mist the back very lightly with water and press it again. I’d give finished cards a full day before stacking them face to face.
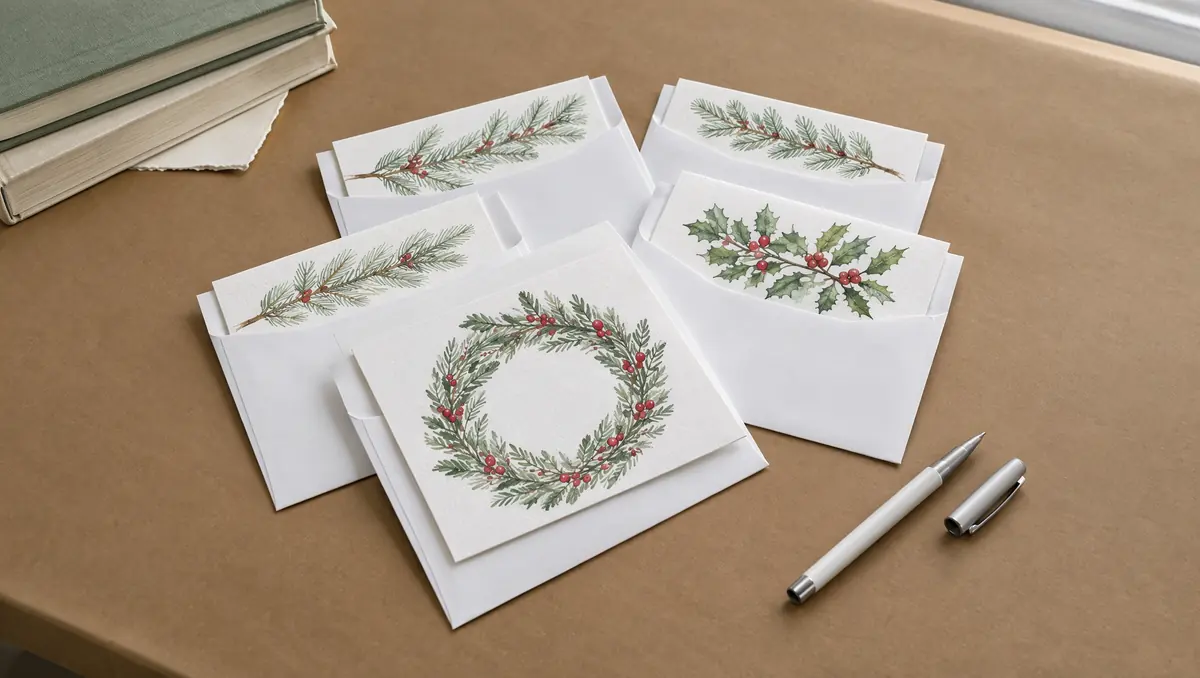
Write inside with a gel pen or a fine felt tip pen, because a ballpoint can dent the soft paper. Then add the painter’s name and the year in small pencil letters on the back. For the message itself, our list of Christmas thank you card messages has short lines you can borrow.
| Finished card | Cut flat paper to | Envelope that fits | Postage |
|---|---|---|---|
| 4 1/4 by 5 1/2 inches | 5 1/2 by 8 1/2 inches (half a letter sheet) | A2, 4 3/8 by 5 3/4 inches | Regular letter stamp if flat and under 1 ounce |
| 5 by 7 inches | 7 by 10 inches | A7, 5 1/4 by 7 1/4 inches | Regular letter stamp if flat and under 1 ounce |
| Square, any size | Double the width, same height | Matching square envelope | Extra charge for nonmachinable mail |
Questions about watercolor Christmas cards
How do you paint Christmas cards in watercolor?
Cut 140 lb cold press watercolor paper to 7 by 10 inches, tape it to a board, and lightly pencil a simple shape on the front half. Paint the lightest colors first, wait until the shine is gone, then add darker details. Fold the card only after everything is dry.
How do you paint easy watercolor Christmas cards?
Choose designs where a guide does the drawing for you: a taped triangle tree, ornaments traced from a cup, holly berries or a snowflake resist. None of them need freehand drawing, and most take under ten minutes of painting.
How do you paint watercolor Christmas cards with winter scenes?
Start with a pale gray blue sky painted wet on wet and leave the bottom third as white paper for snow. Keep the subject small, such as a snowman, a row of firs or one little house with a yellow window. Once the sky is dry, add light blue shadows on one side only.
What paper is best for watercolor Christmas cards?
Watercolor paper marked 140 lb cold press is the common choice. Lighter paper and regular cardstock buckle under a wet wash. Precut blank watercolor cards with matching envelopes save you the cutting if you’re making a big batch.
Can a toddler paint a Christmas card?
Yes, as long as a grownup does the setup. Draw crayon snowflakes or tape a triangle first, tape the card to a tray, and let your toddler brush paint over it while you watch closely. Check the paint label before you start and keep the water jar shallow.
The first card I’d paint this year
For a family that has never touched watercolor, I’d start with the taped triangle tree. It forgives every wobble, a two year old and a grandparent can paint it at the same table, and peeling off the tape gives everyone the same small reveal at the end. My plan for our first card of the season is one taped tree each for Eeshan and Vihaan, with their names and the year penciled small on the back. The tidy batch of fir tree cards can come later. I expect the lopsided ones the boys paint to be the cards still sitting in a drawer ten years from now, and the ones the grandparents ask for by name.